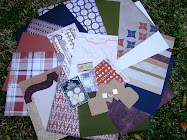
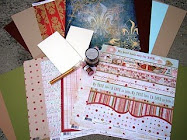
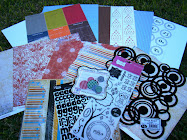
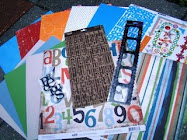
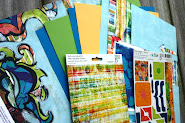
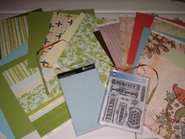
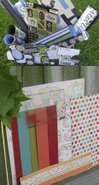
I still have TONS of this kit left! Now if I have time to create more with it is a whole different topic! But I'm sure gonna try!

 I wanted to make the cards with sort of a patchwork quilt look to them so I cut out squares of the papers and and sewed them to the cards in a quilt like pattern.

 More sewing, border punching and misting on these layouts! And I have more to come!
 Pam
Pam Noelle


 My designs are coming soon!
  And what a Kaleidoscope of color and inspiration it is!
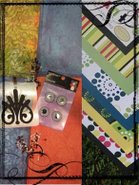
 Do you see that Fleur de Lis stamp by Teresa Collins?! What about those fabulous brads from KaiserCraft!
  If this kit doesn't get your creative juices going, I don't know what will! I'm itching to work with mine!
  For the page above, I used the bottom strips of all the papers and sewed them on the page to form a unique element. I also left the edges long at the top to add interest as they stick up above the page.
 For this one, I used a lot of punches here including a border punch (my new addiction). Speaking of addiction, notice the mist...I used a chipboard piece from my stash as a mask to mist over.
 And this one I used an old alpha sticker backing as a mask for misting and bits and pieces of papers I had left and didn't want to waste a tiny bit!


 As you can see, I have a serious problem with my sewing machine and misting addiction. I.just.can.not.stop!
So get creative...get messy...just scrap!
 Still using that Maya mist on most of my pages. For the "Lil Cowboy page I layed one of the sheer journaling cards down (one with the scalloped edge) and misted over it to create a little window area for another picture.
 For the "Paved"layout I put the thickers down and misted over them and then removed them to create the title.
 I need to add my journaling but it's going to be sort of personal since this layout is about the demoliation of my great grandmother's old house. Hince the title "Paved Paradise". I need some time to think about the words I want to capture on these pages.
 And finally a cheerful little card...
 And I've only worked with HALF of the kit so far! Can't wait to work on the other half!
  Stephanie
 Pam
Pam


 Those bright, fun colors of the Scenic Route papers combined with the black/white/red combo of the distressed, vintage looking Rusty Pickle papers made me think CIRCUS!
  And lets not forget about the slick looking black thickers and those wonderful sheer journaling cards! Such a diverse kit and great for the end of summer!
 For the page above, i cut up the sticker sheet that the letter stickers came with and used it as a stencil for the letters and sprayed my Maya mist over it. This was killer fun and you should TOTALLY try it.


 This one was so quick and simple but it turned out so graphic. I just started with a white piece of cardstock from my stash and sprayed some charcoal Maya Mist for a rocker grunge look. The rest of the items on the page are all from the kit. Totally fun page to make!
 I was inspired to alter this go round for some reason. Not like altered projects but altered supplies. I painted, I inked, I misted, I masked, I sewed...I basically went nuts. And here are the results.
 For the "Yummo" layout took two of the big bracket stickers and placed them where I wanted my title to be. Then I sprayed some brown Maya mist over the page and lifted the stickers. This was a great masking technique that I highly recommend! Plus now I have some cool "aged" looking brackets to use on another layout. I also wanted bold yellow letters for this layout. Since the letters in the kit were blue, I took out a yellow paint marker and just painted them...then Stitched them on the layout.
 It's amazing what you can do if you go a little technique crazy!
 For this one I used the background of the letter stickers as a mask. I pealed the background off of the sheet and used the entire sticky background part (leaving the letters themselves stuck to the backing of the slick package. Then I stuck the background onto my page and sprayed Maya mist over it and pealed it off. I LOVE this technique...you will see this over and over on my layouts I'm sure! You MUST try it. It's so easy and the results are so graphic and bold!

 Bottom line...lets see you go a little technique crazy!