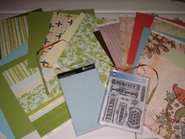
Just a quick little project to use some of those scraps from your County Fair kit....
a ROCKET SHIP!!

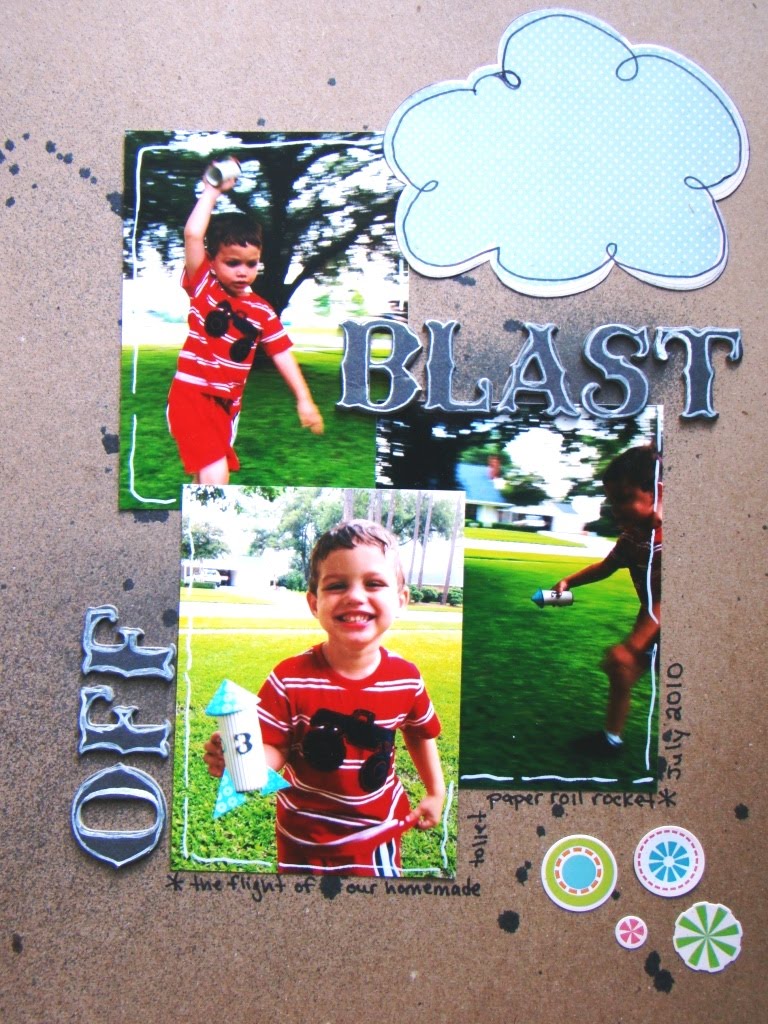
This was a quick little project I did with my little guy to pass the time this summer afternoon.
We gathered some simple supplies...

Toilet paper roll
Large rectangle of patterned paper
Large circle of patterned paper
Three patterened paper triangles (two going one way and one going the opposite)
Three matching triangles cut out of chipboard
Misc. embelishments
Scissors
Tape
I had all the items pre cut and had the double sided tape applied and ready to go. Three year olds don't have much patience for these things;)

First we wrapped the rectangle paper around the roll and secured with tape.

Then I applied the patterened paper triangles to the chipboard triangles and cut slits in them. Next you just slip the roll in the slits to form the stand.

Cut a slit up the side of the circle to the center.

Then fold the circle into itself to make a cone and secure with tape.

Then secure the top on with glue dots or tape.
And presto! Time for a blast off!!
This smiling face was the only thanks I needed!
So who can you make a rocket ship with?

 I made this sweet little banner from the supplies in the kit and some pages in a vintage children's story book. These pictures were just too cute to not do something wonderful with!
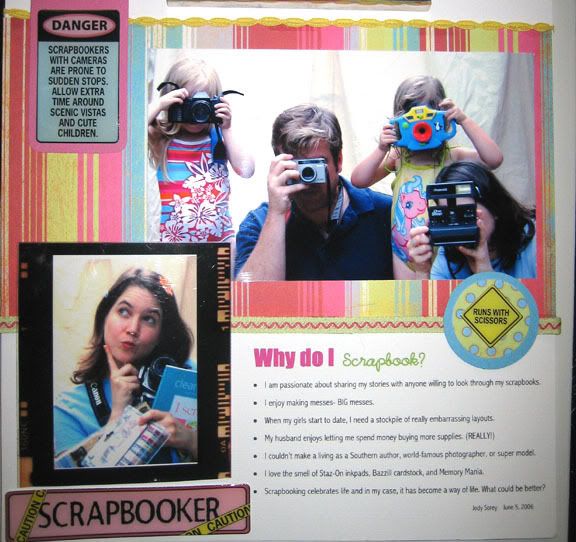
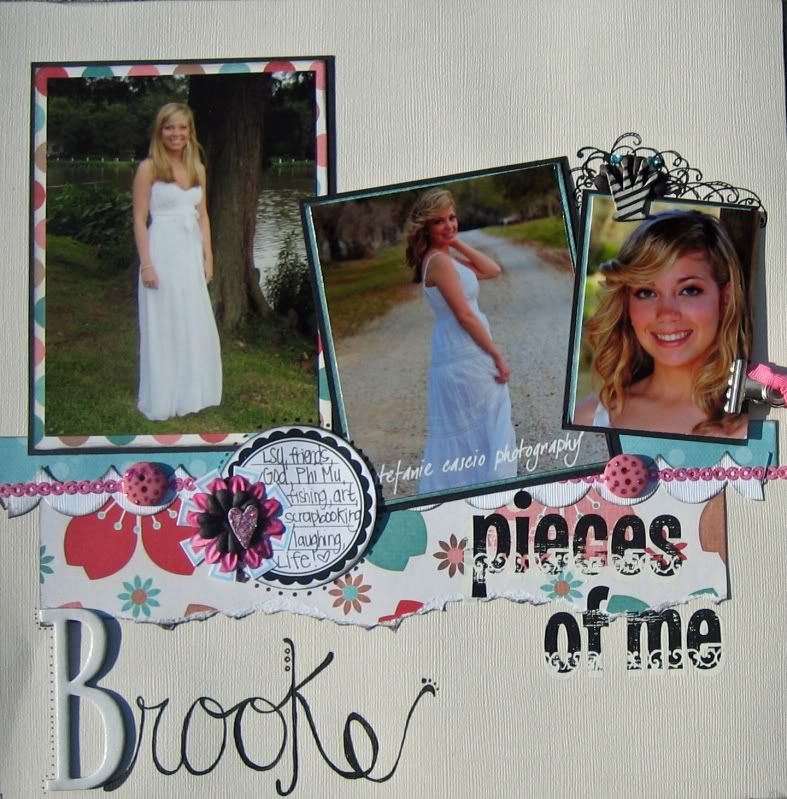
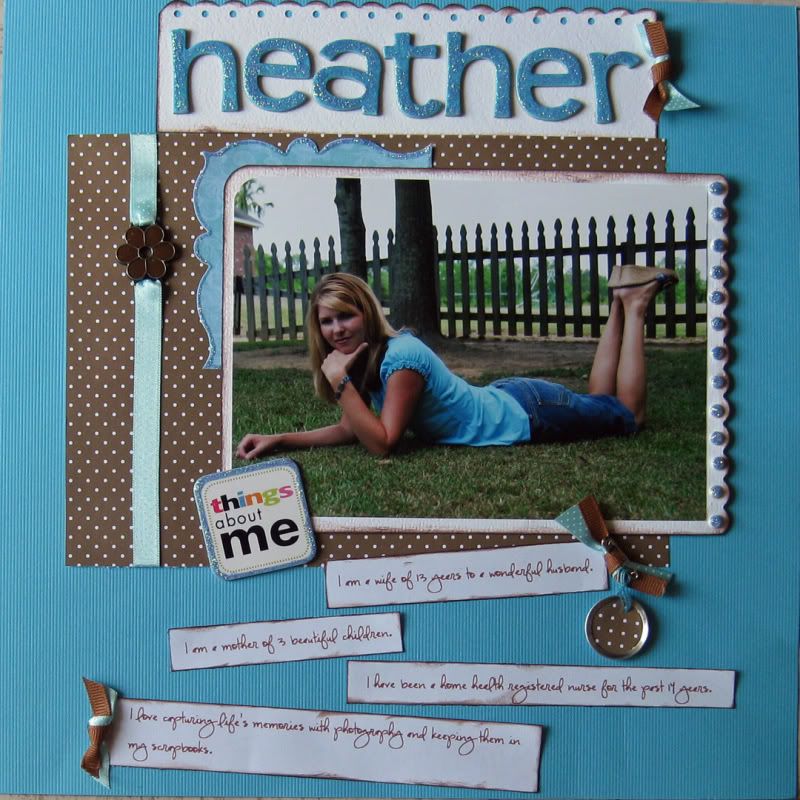
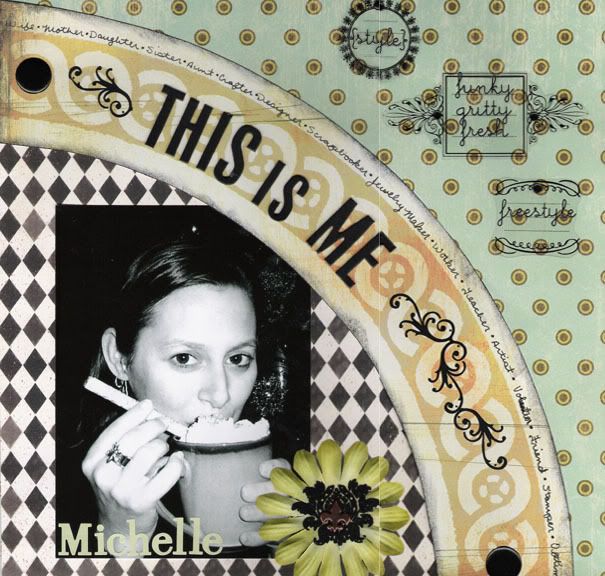
 Next I scrapped a couple of pages too!
 Try mixing your patters and do some paper pieceing! It was so fun!
 Such a fun kit this month!


