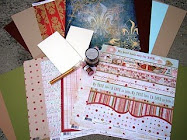
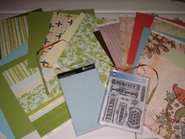
So I've been a little mini crazy lately. This mini was made using one of the transparency pieces as a templete...

I turned over the flocked polka dot paper and traced the scalloped transparentcy on the back *in the center of the page...we will use the rest of the page later* The carefully cut it out as to not damage the center or the outline.

I did the same for the back cover using the stripe paper. Then I did the same for the filler pages. Just plain pages are in my book because it's going to be a baby book for a friend. then I punched holes on the edge and tied the ribbon to make the spine. You can also score the edge a little on the over to help it open and close. Then you simply embelish the cover with your sticker of choice.
So why did we save the out line? Well here is why....this is the paper I used for the back cover of the mini.

After I cut out the cover, I placed a solid sheet of cardstock behind it and sewed the two together on my sewing machine.
This was a great way to make the most of you kit supplies!
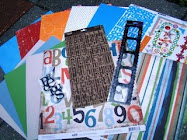
Now I still have the mini in the post bellow...I'll show more on that later. Speaking of more...I got the NEW kit today and it is wonderful! I'll post pics soon as well as the masters pages!

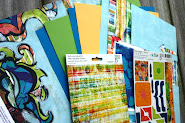
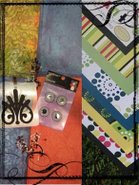
 This time I decided to do some home decor items since I'm doing so many home improvement projects these days. I'm about to start working on our master bedroom and the color palette of the crate papers in this kit are perfect! The his and her frames above were created by just tracing and cutting out a computer generated silhouette and layering it with some of the pattered paper in the kit.
 These frames were just plain frames from the dollar store that I adhered the patterned paper to and sanded the edges. I love the simple, clean lines of it!
 Well enough blogging...I've got more scrapping to do!


