
 So I was thinking of doing a little how to...anyone interested?
Monday, March 30, 2009
Mini love...Peek-see
Ok, so I made this little mini and I love how it turned out...
 So I was thinking of doing a little how to...anyone interested?
So I was thinking of doing a little how to...anyone interested?Thursday, March 19, 2009
Love to love it!
I sure am enjoying this kit.
 Above is a set of cards I made from some of the scraps from a page I'm still working on. I removed the heart from the center of the circle stamp and stamped a letter there instead. Since the ribbon didn't match the look I was going for, I just used some scrap ribbon I had laying around.
And here are a couple of pages that went a little sewing crazy on!

 On the layout below, I cut up one of the transparency frames and used it on the corners of the page instead.
 I didn't want the adhesive to show so I sewed it to attach it to the page...didn't take much convincing to get me to do more sewing on this page!
 Above is a set of cards I made from some of the scraps from a page I'm still working on. I removed the heart from the center of the circle stamp and stamped a letter there instead. Since the ribbon didn't match the look I was going for, I just used some scrap ribbon I had laying around.
And here are a couple of pages that went a little sewing crazy on!
 On the layout below, I cut up one of the transparency frames and used it on the corners of the page instead.
  I didn't want the adhesive to show so I sewed it to attach it to the page...didn't take much convincing to get me to do more sewing on this page!
 Ok, so I have a couple more pages in the works on my scrap table and a couple minis too! I'll share as soon as they come together.
Wednesday, March 18, 2009
Sharing the love
See how the Masters showed the love...
Sandy

Pam

Noelle

Jansen
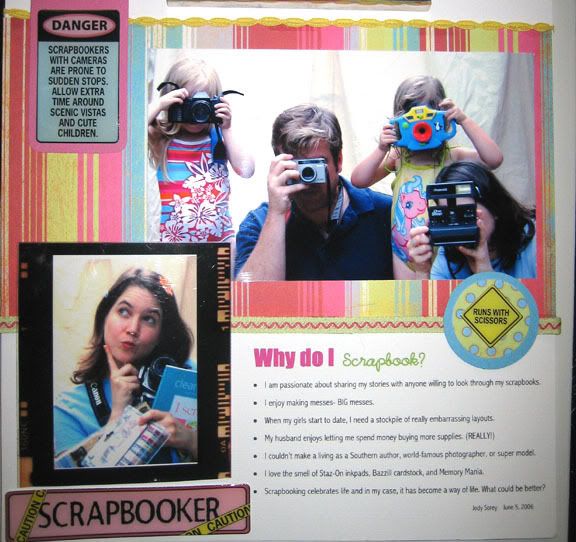
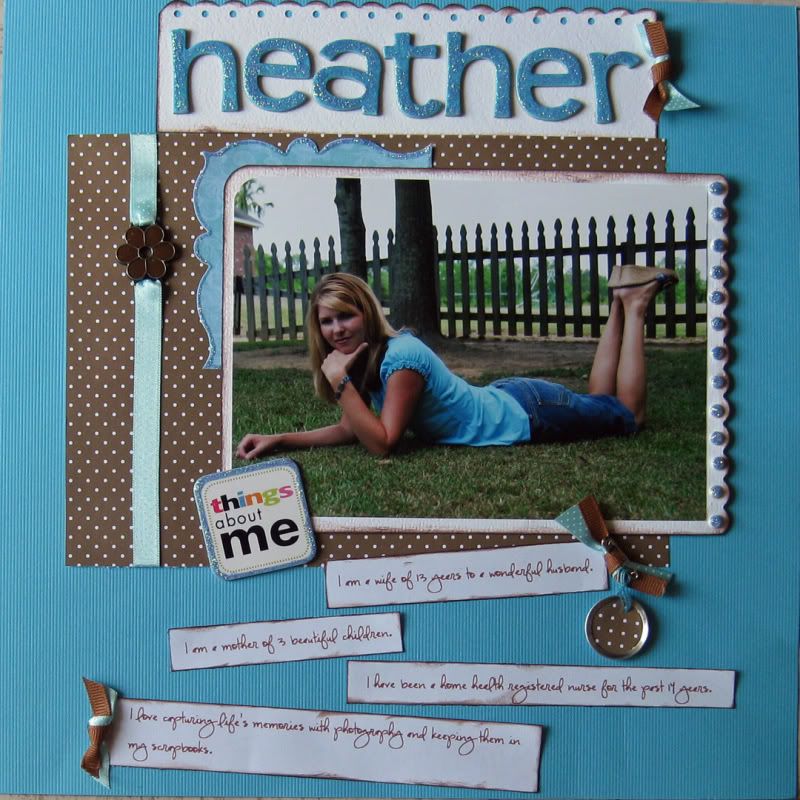
Heather

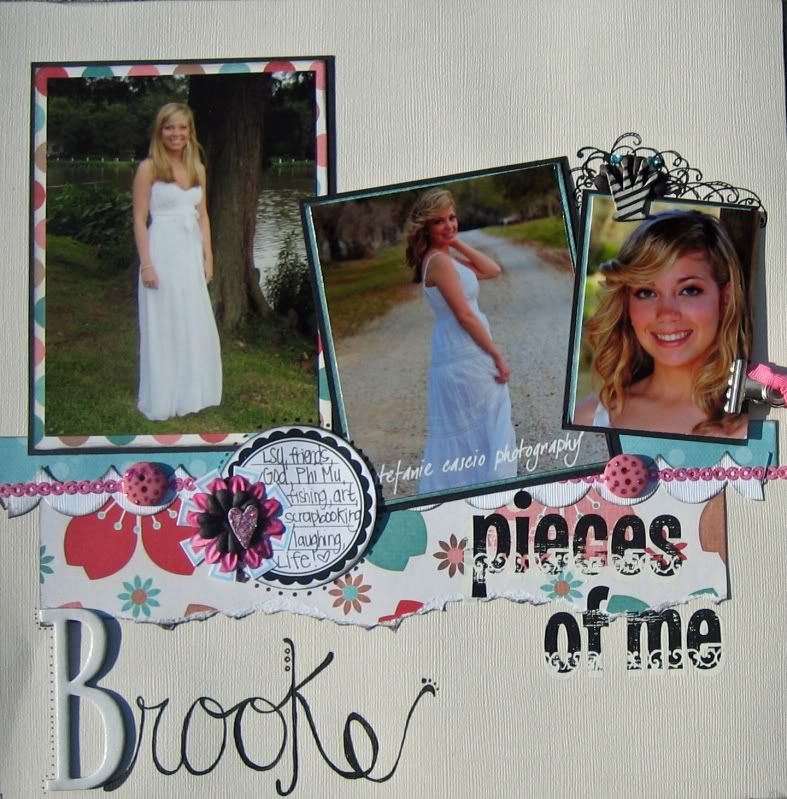
Brooke
 So much love! Can you handle it?
Sandy

Pam

Noelle

Jansen

Heather

Brooke
 So much love! Can you handle it?
 Monday, March 16, 2009
Love Life?
Do you have one? The Kit that is! LOL!

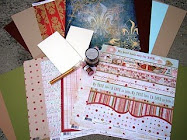
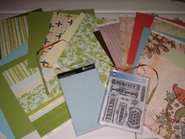
 With this kit, you can scrap the love of your life, what you love about life or just life in general. It has great transparencies and a whole set of wonderful clear stamps...plus all that paper, stickers and ribbon too! Stay tuned for some inspo pics from the Masters!

 With this kit, you can scrap the love of your life, what you love about life or just life in general. It has great transparencies and a whole set of wonderful clear stamps...plus all that paper, stickers and ribbon too! Stay tuned for some inspo pics from the Masters!
Tuesday, March 3, 2009
Fun Projects!
I have a few fun projects for ya!
Above is a little notebook I made using all the selvege edges of the paper (you know the bottom stip we usually cut off and throw away) that came in the last Masters kit. I saw the idea using the selvage edges of fabric made into quilt squares on flickr the other day and KNEW I had to try this! I just cut them off and staggered them and sewed them up. Great idea for making your own patterned paper. Those strips can be so cool sometimes!
And I was so inspired that I whipped up this little clear wallet.
 I used two clear badge holders, turning them where both the open slit was both inside and placed the scalloped ribbon on the spine of the outside and stitched it on my sewing machine. Then I was pretty much done...I just added the rubons on the cover and presto. Done. Perfect to slip your ID and debit card into your cute little mommy's night out handbag and go. This idea could be used in so many ways. I may try it again soon with some of those ideas.
What can you come up with using some of those extra bits from your kit?
Above is a little notebook I made using all the selvege edges of the paper (you know the bottom stip we usually cut off and throw away) that came in the last Masters kit.
I saw the idea using the selvage edges of fabric made into quilt squares on flickr the other day and KNEW I had to try this! I just cut them off and staggered them and sewed them up. Great idea for making your own patterned paper. Those strips can be so cool sometimes!And I was so inspired that I whipped up this little clear wallet.
I used two clear badge holders, turning them where both the open slit was both inside and placed the scalloped ribbon on the spine of the outside and stitched it on my sewing machine. Then I was pretty much done...I just added the rubons on the cover and presto. Done. Perfect to slip your ID and debit card into your cute little mommy's night out handbag and go. This idea could be used in so many ways. I may try it again soon with some of those ideas.What can you come up with using some of those extra bits from your kit?
Subscribe to:
Posts (Atom)


