Saturday, May 9, 2009

My crush is growing!

My crush on this "Blue Crush" kit is growing with every layout I finish!
I did a lot of sewing on my pages this month. I love how the Paper Element papers look like white washed canvas...almost like denim. Perfect for layouts of my boys!
And those big 'ol chipboard letters?! Be still my heart!
Here I used a small scrap of the crate paper to tie a little extra color onto the title letter.
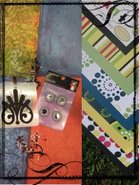
And those prima crystals were wonderful...but I found the clear stones kept getting lost on my pages every time I went to place them. So I painted them!
I just dabbed a little paint onto them lightly covering just the top of the stones and presto...they look totally different!
And finally, I did a little banner for my son's room.
I just used the back card stock to make the triangle pendants and then covered the chipboard with the patterned papers and glued them on. Then punched some holes with eyelets and strung some thick ribbon through to hang it. Super quick and super easy!

What can you create with your Masters kit? Come on, wow us!

Our Masters are in love with "Blue Crush"

You'll fall in love with "Blue Crush" too.

JodySandi
Pam
Noelle


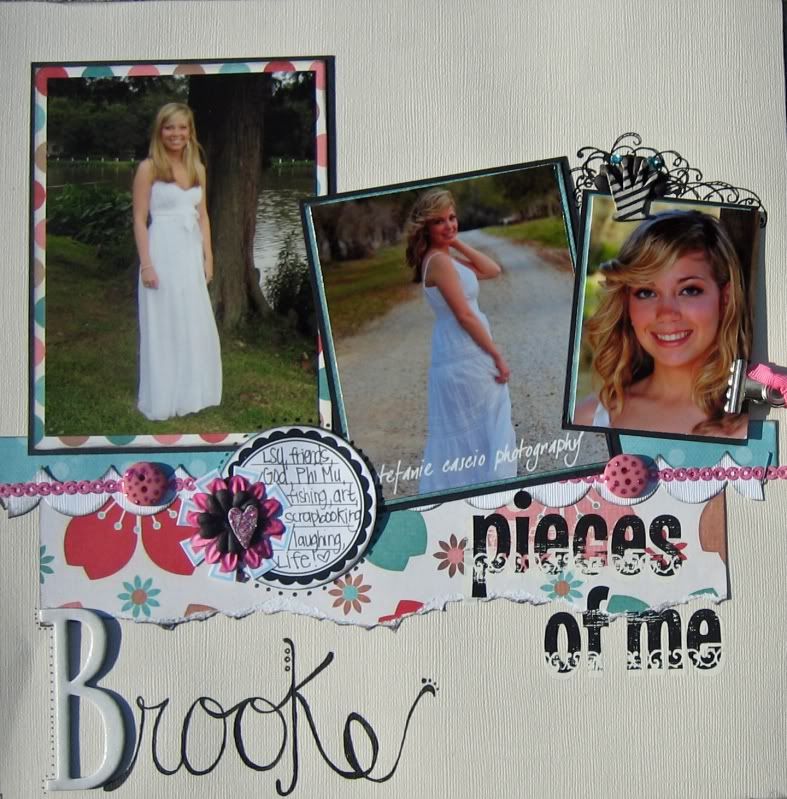
Brooke
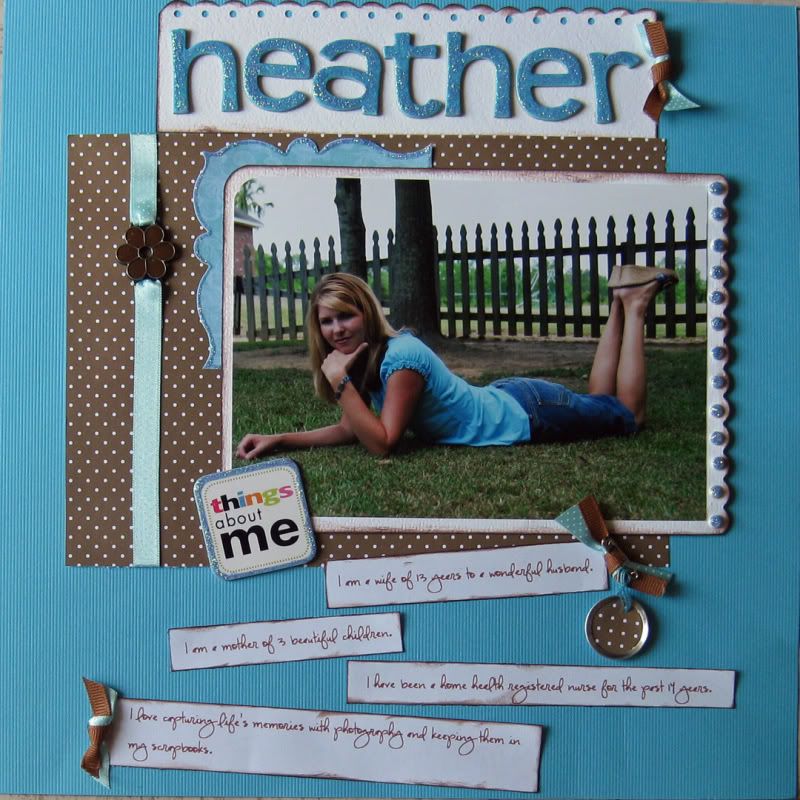
Heather

Jansen

Now I just have to share what I've been doing with this kit. I'm well on my way to lots of pages and projects already!

Wednesday, May 6, 2009

Blue Crush is here!

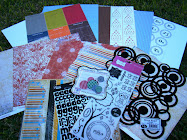
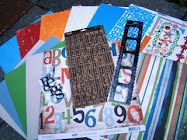
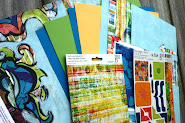
Just in time for those water pictures I know you are all taking now that the weather is getting nice...Blue Crush is here to give you that beautiful blue background.

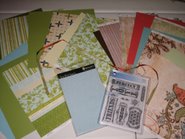
And if you are like me and still scrapping winter pictures, it's perfect for that too! Did I mention that this kit gives you a set of Heidi Swapp clear stamps and a whole set of Cosmo Cricket chipboard letters?! Crazy, I know. So if you haven't yet gotten this kit or signed up for the Masters, do it!

Ok, I'll be back to post the Masters pages and then I'll be posting my projects shortly after. My brain is just floating with ideas!

Saturday, April 18, 2009

Second installment...

Second installment of projects with this sweet kit
This time I decided to do some home decor items since I'm doing so many home improvement projects these days. I'm about to start working on our master bedroom and the color palette of the crate papers in this kit are perfect! The his and her frames above were created by just tracing and cutting out a computer generated silhouette and layering it with some of the pattered paper in the kit.
These frames were just plain frames from the dollar store that I adhered the patterned paper to and sanded the edges. I love the simple, clean lines of it!
Well enough blogging...I've got more scrapping to do!

Thursday, April 16, 2009

Just a few...

Just a few projects to get your creative juices flowing as I continue to work with my kit.
This was a card that I loved so much when I was finished that I had to display it on my living room wall! I got this look by using my butterfly punch on the colored sections of the patterned paper. You could do it with any punch you like. The repeated image is so graphic!

And a layout...
This paper was just screaming for me to cut out those little sections to add dimention.

Alrighty...my scrap time has been rather short this week but I'll be back soon with more!

Friday, April 10, 2009

Masters inspiration!

Check out the wonderful work by the Masters with the latest kit!


Saturday, April 4, 2009

Licorice & Jelly Beans

Allow me to introduce you to the lastest Masters Kit...
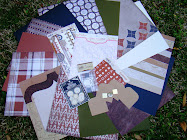
Licorice & Jelly Beans! How perfect is this kit? It's loaded...I mean LOADED! I've blown through half of it, making a layout, mini book and a card and still have the entire collection of Crate paper stuff left to play with!
Stay tuned for some inspo!

Thursday, April 2, 2009

Mini how to...

So I've been a little mini crazy lately. This mini was made using one of the transparency pieces as a templete...
I turned over the flocked polka dot paper and traced the scalloped transparentcy on the back *in the center of the page...we will use the rest of the page later* The carefully cut it out as to not damage the center or the outline.
I did the same for the back cover using the stripe paper. Then I did the same for the filler pages. Just plain pages are in my book because it's going to be a baby book for a friend. then I punched holes on the edge and tied the ribbon to make the spine. You can also score the edge a little on the over to help it open and close. Then you simply embelish the cover with your sticker of choice.

So why did we save the out line? Well here is why....this is the paper I used for the back cover of the mini.
After I cut out the cover, I placed a solid sheet of cardstock behind it and sewed the two together on my sewing machine.
This was a great way to make the most of you kit supplies!
Now I still have the mini in the post bellow...I'll show more on that later. Speaking of more...I got the NEW kit today and it is wonderful! I'll post pics soon as well as the masters pages!

Monday, March 30, 2009

Mini love...Peek-see

Ok, so I made this little mini and I love how it turned out...
So I was thinking of doing a little how to...anyone interested?

Thursday, March 19, 2009

Love to love it!

I sure am enjoying this kit.
Above is a set of cards I made from some of the scraps from a page I'm still working on. I removed the heart from the center of the circle stamp and stamped a letter there instead. Since the ribbon didn't match the look I was going for, I just used some scrap ribbon I had laying around.

And here are a couple of pages that went a little sewing crazy on!
On the layout below, I cut up one of the transparency frames and used it on the corners of the page instead.
I didn't want the adhesive to show so I sewed it to attach it to the page...didn't take much convincing to get me to do more sewing on this page!
Ok, so I have a couple more pages in the works on my scrap table and a couple minis too! I'll share as soon as they come together.

Wednesday, March 18, 2009

Sharing the love

See how the Masters showed the love...

Sandy

Pam

Noelle

Jansen

Heather

Brooke
So much love! Can you handle it?

Monday, March 16, 2009

Love Life?

Do you have one? The Kit that is! LOL!

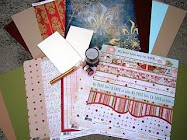
With this kit, you can scrap the love of your life, what you love about life or just life in general. It has great transparencies and a whole set of wonderful clear stamps...plus all that paper, stickers and ribbon too! Stay tuned for some inspo pics from the Masters!

Tuesday, March 3, 2009

Fun Projects!

I have a few fun projects for ya!

Above is a little notebook I made using all the selvege edges of the paper (you know the bottom stip we usually cut off and throw away) that came in the last Masters kit. I saw the idea using the selvage edges of fabric made into quilt squares on flickr the other day and KNEW I had to try this! I just cut them off and staggered them and sewed them up. Great idea for making your own patterned paper. Those strips can be so cool sometimes!


And I was so inspired that I whipped up this little clear wallet.
I used two clear badge holders, turning them where both the open slit was both inside and placed the scalloped ribbon on the spine of the outside and stitched it on my sewing machine. Then I was pretty much done...I just added the rubons on the cover and presto. Done. Perfect to slip your ID and debit card into your cute little mommy's night out handbag and go. This idea could be used in so many ways. I may try it again soon with some of those ideas.

What can you come up with using some of those extra bits from your kit?