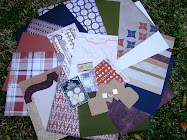
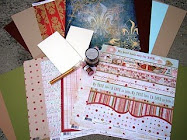
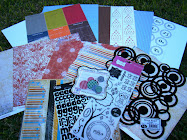
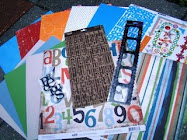
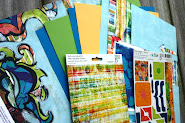
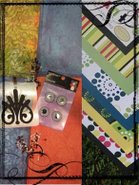
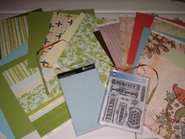
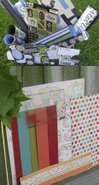
How cute was this kit I ask you?

I was inspired to alter this go round for some reason. Not like altered projects but altered supplies. I painted, I inked, I misted, I masked, I sewed...I basically went nuts. And here are the
results.
For the cards above I stamped on some vellum (I know you have some laying around from back when it was "in"),
stitched it on the blue patterned paper, punched out some scallops from from the stripe paper and cut some flowers out of another patterned paper and presto! A precious gift! Super quick and easy.

For the "
Yummo" layout took two of the big
bracket stickers and placed them where I wanted my title to be. Then I sprayed some brown Maya mist over the page and lifted the stickers. This was a great masking technique that I
highly recommend! Plus now I have some cool "aged" looking
brackets to use on another layout. I also wanted bold yellow letters for this layout. Since the letters in the kit were blue, I took out a yellow paint marker and just painted them...then
Stitched them on the layout.

It's amazing what you can do if you go a little technique crazy!
Next is a layout that is currently featured on
Scrapjacked.
For this one I used the background of the letter stickers as a mask. I pealed the background off of the sheet and used the entire sticky background part (leaving the letters themselves stuck to the backing of the slick package. Then I stuck the background onto my page and sprayed Maya mist over it and pealed it off. I LOVE this technique...you will see this over and over on my layouts I'm sure! You MUST try it. It's so easy and the results are so graphic and bold!
More sewing love here...


Bottom line...lets see you go a little technique crazy!


 For the page above, i cut up the sticker sheet that the letter stickers came with and used it as a stencil for the letters and sprayed my Maya mist over it. This was killer fun and you should TOTALLY try it.


 Since I broke the needle on my sewing maching on the previous layout, I did some hand stitching and I'm really glad I did. Also used some punches, like the bird punch and the scalloped border punch.


 Now for this layout and the next one, I got a little glimmer mist crazy but I love the results! I used the back of the diecut paper as a mask to make the design on the white cardstock.
 Same here, I used the back of the diecut "Family" title piece as a mask and sprayed the glimmer mist right over it to make the design on the brown cardstock.
 I also only inked the word "memories" on the Heidi Swapp stamp and used it as part of my title. Another way those stamps can go a long way! I even used my bling to the best of it's ability...I cut it up and used it as an eye for my little birdie!
 And it's hard to tell...but in the little scalloped design I cut out with a border punch, I put the little stones from the bling. I'll have to take a closer up picture for you for my next post. I have some more fun projects planned for this kit so check back later!


 Perfect quick little minis!